Sign in
Click here - to use the wp menu builder
Sign in
Welcome!
Log into your account
your username
your password
Forgot your password?
Privacy Policy
Password recovery
Recover your password
your email
Search
Sign in / Join
Sign in
Welcome! Log into your account
your username
your password
Forgot your password? Get help
Privacy Policy
Password recovery
Recover your password
your email
A password will be e-mailed to you.
Click here - to select or create a menu
Home
La Maghrebine
La Maghrebine
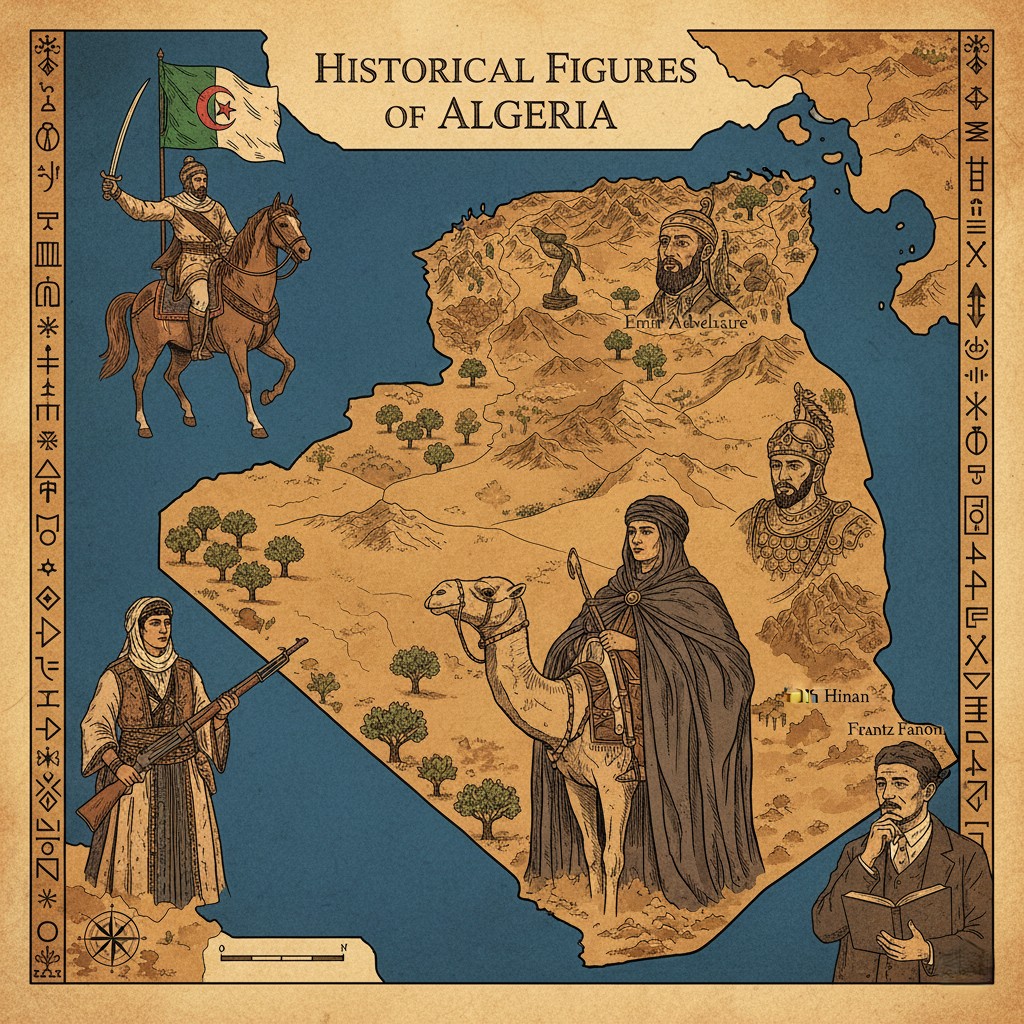
Republic of Algeria Democratic and Popular
History
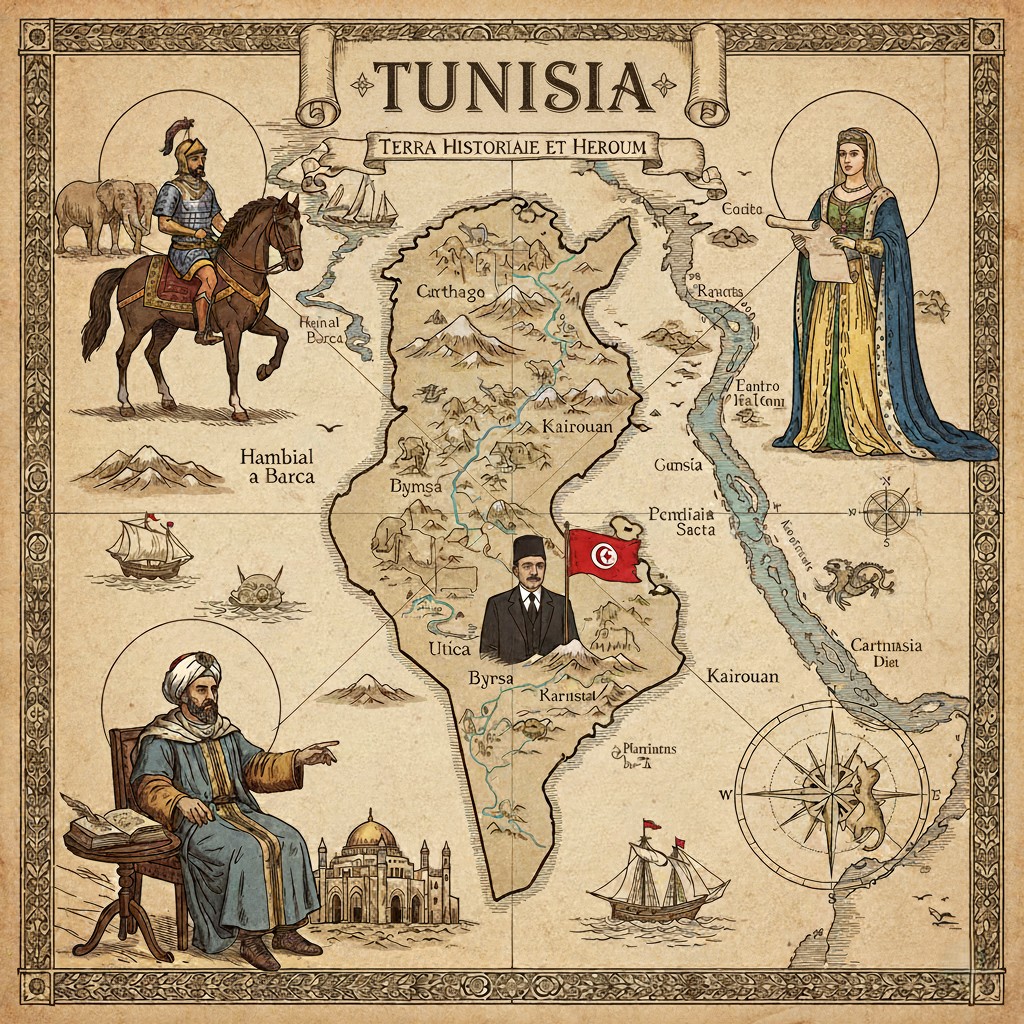
A Complete Step by Step Guide to Green Tunisia
History
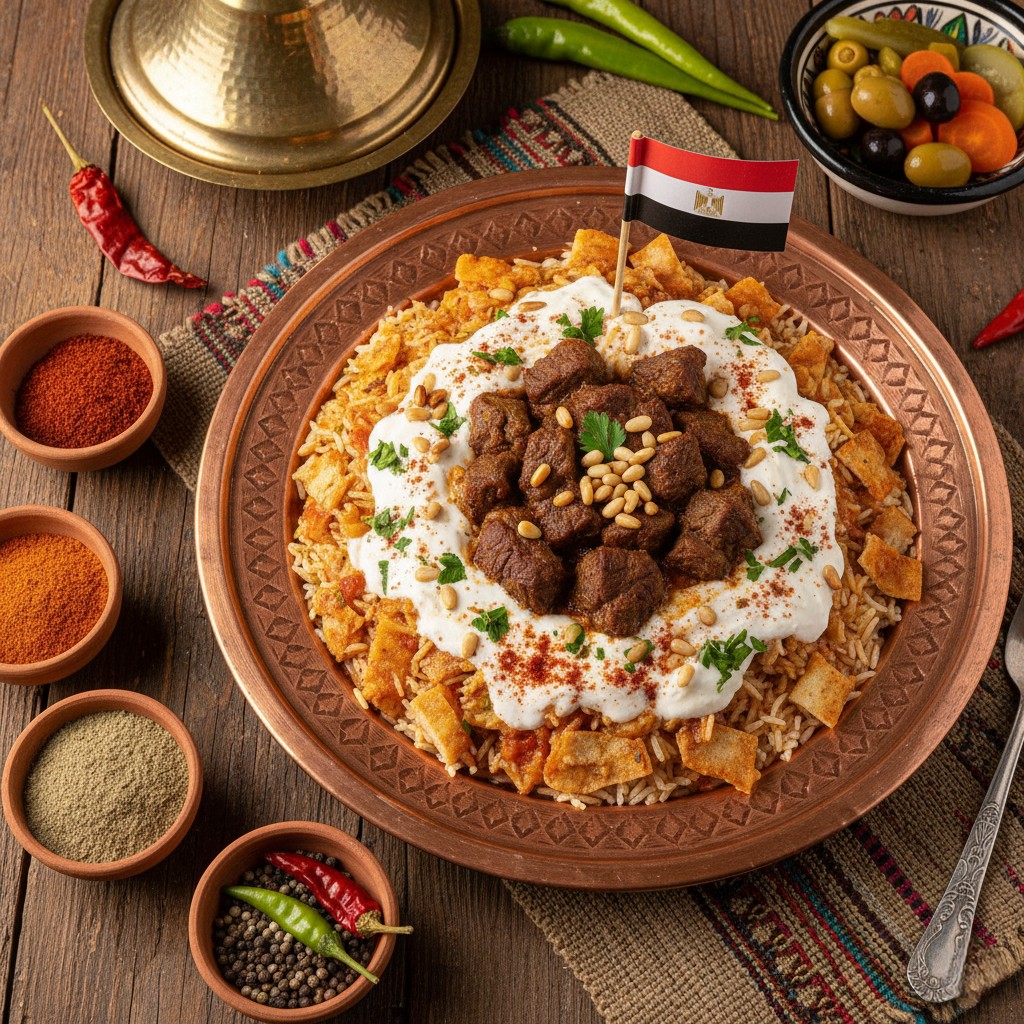
Egyptian Fatteh
Cooking
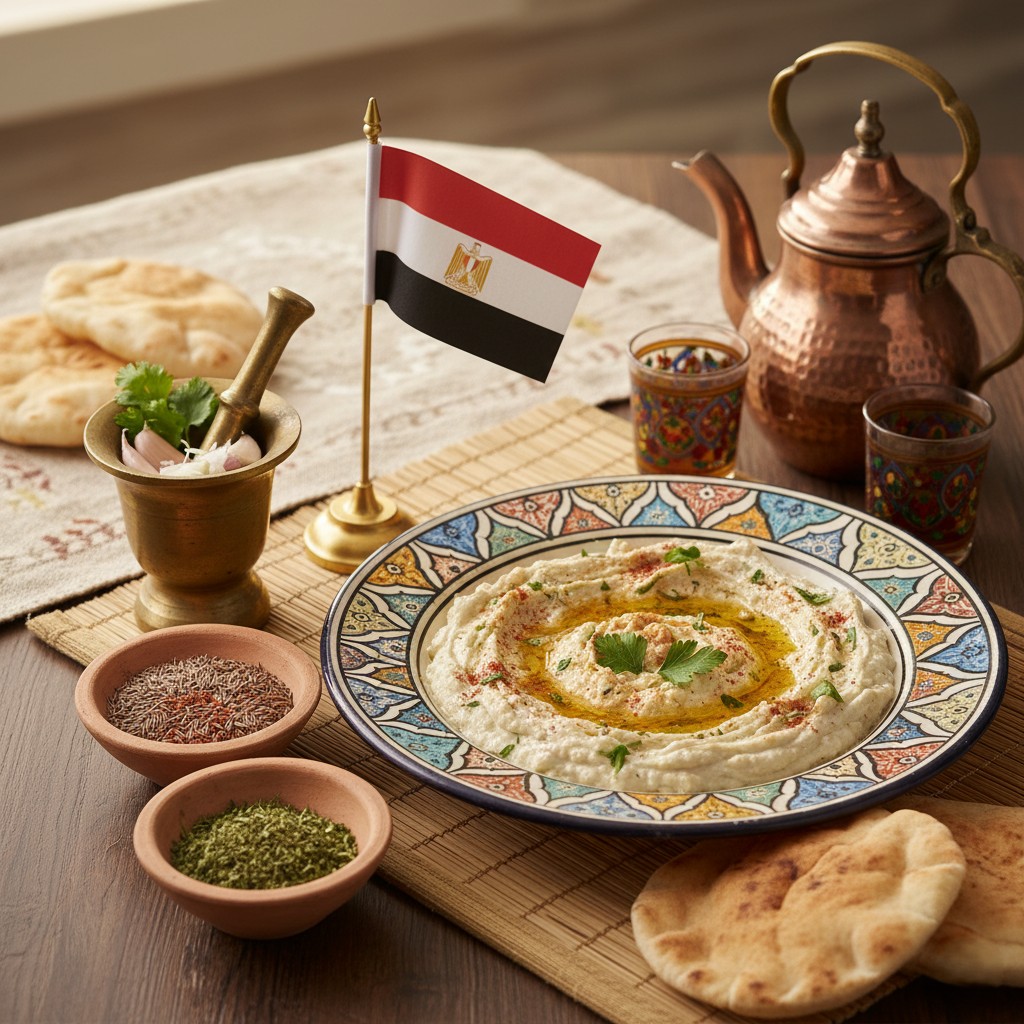
Egyptian Baba Ganoush
Cooking
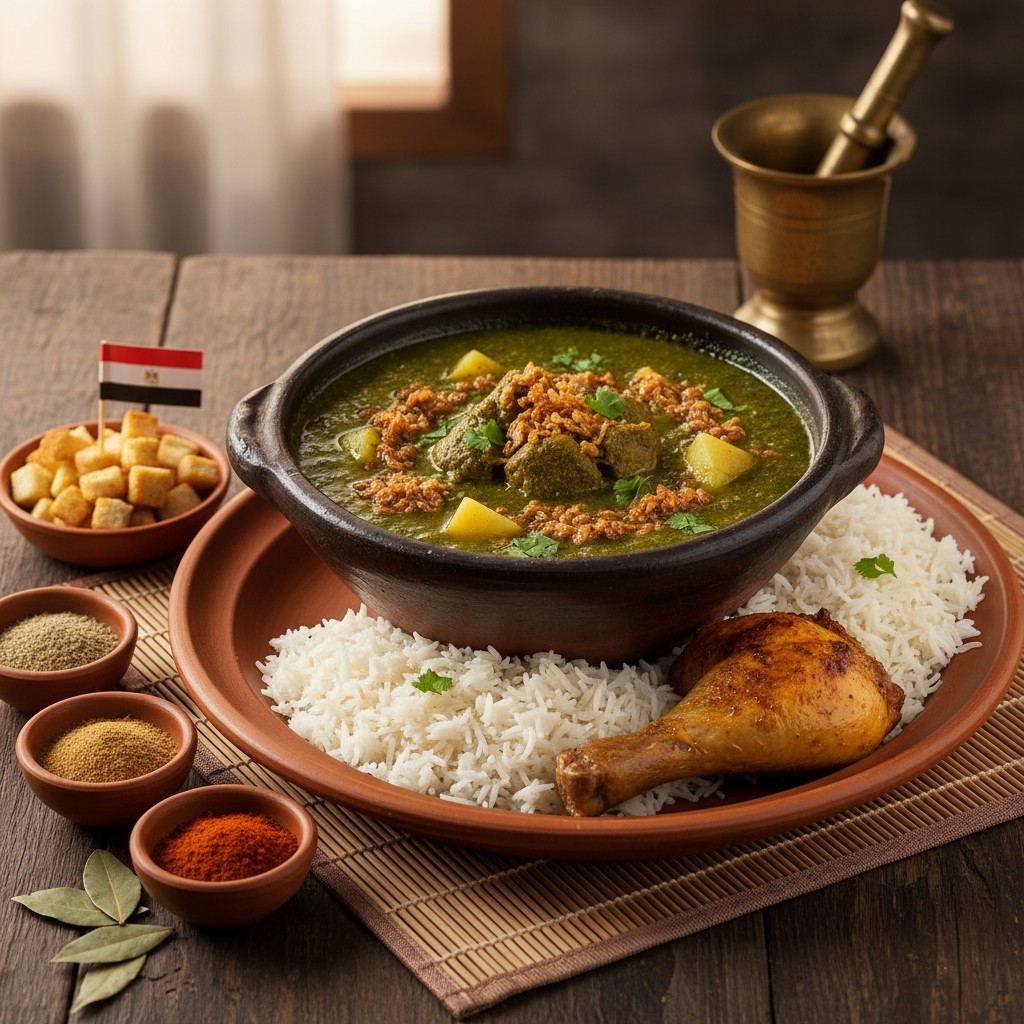
Egyptian Mulukhiyah Molokheyya, Molokhia or Mulukhiyyah
Cooking
Egyptian Koshary [also spelled Koshari or Koshery]
Cooking
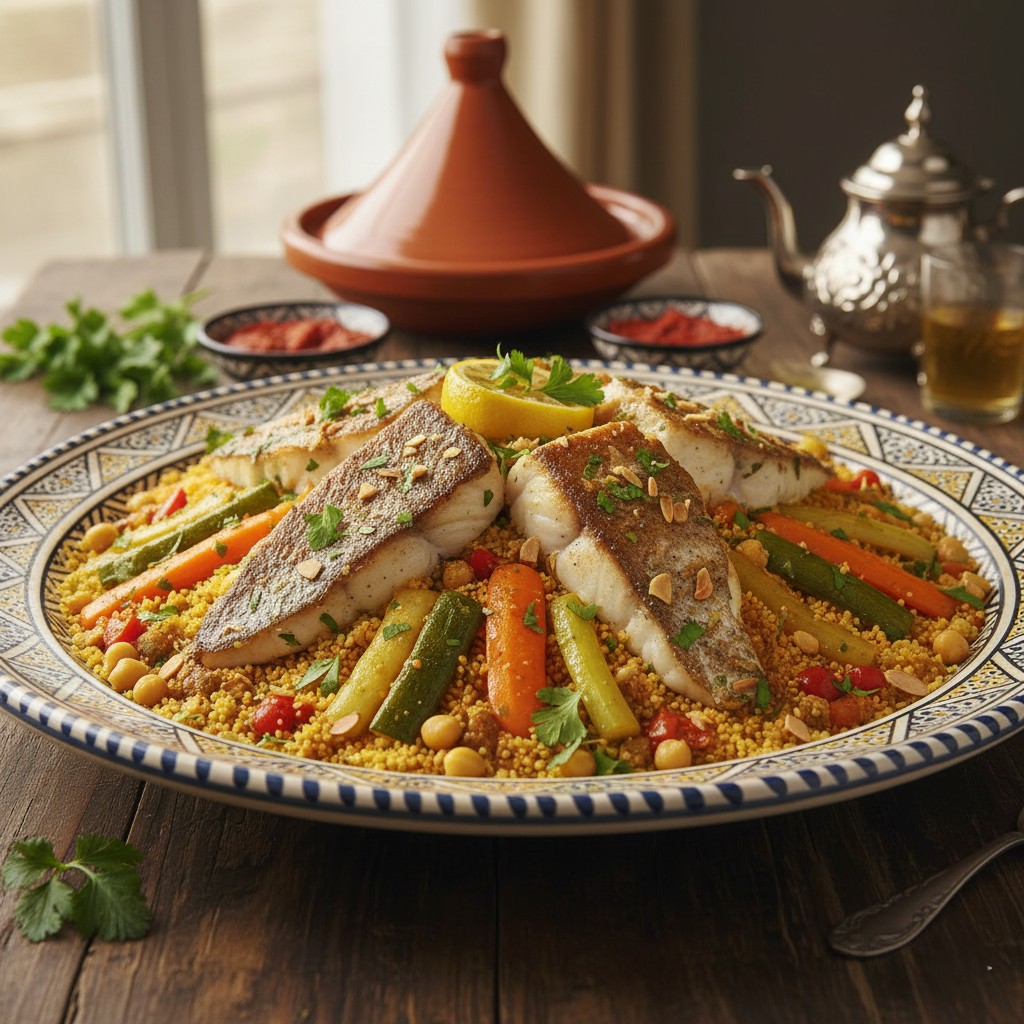
Moroccan Fish Couscous
Cooking
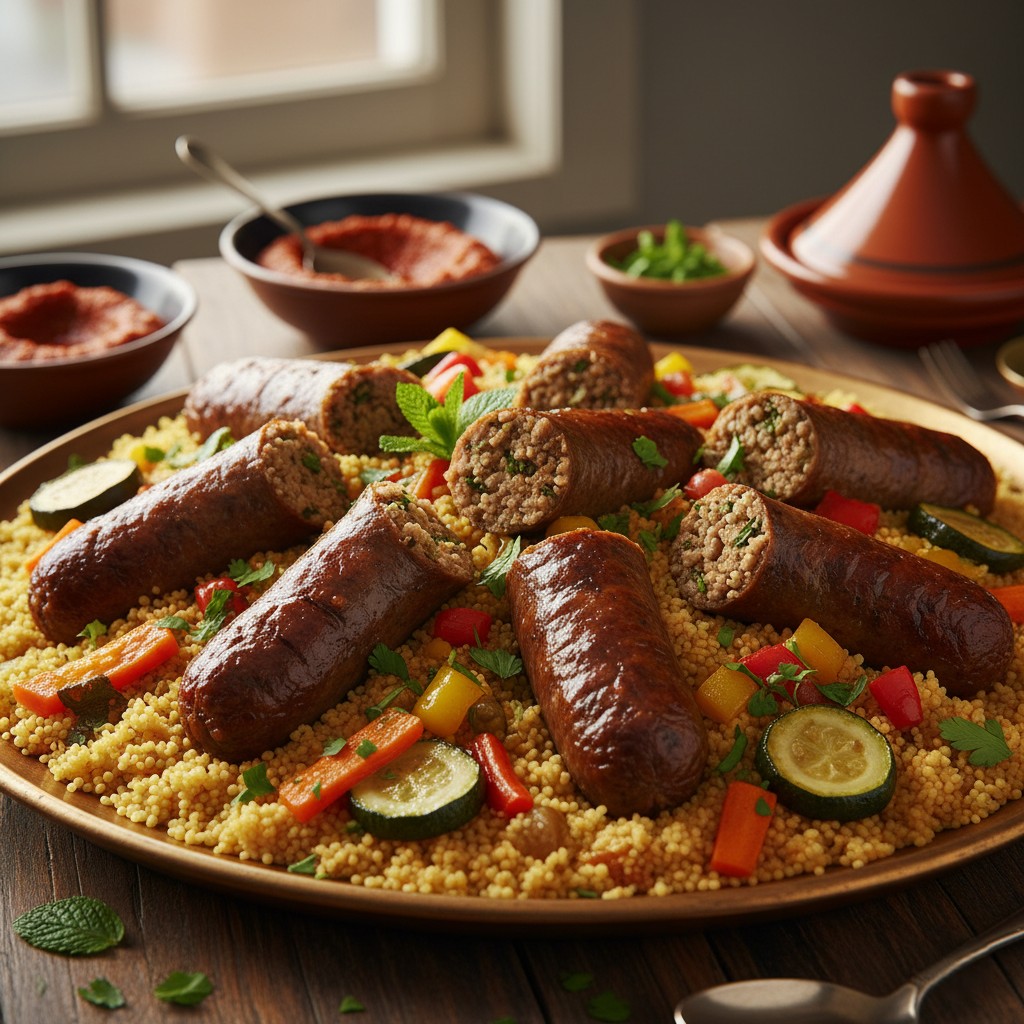
Couscous Osban: A Step-by-Step Guide
Cooking
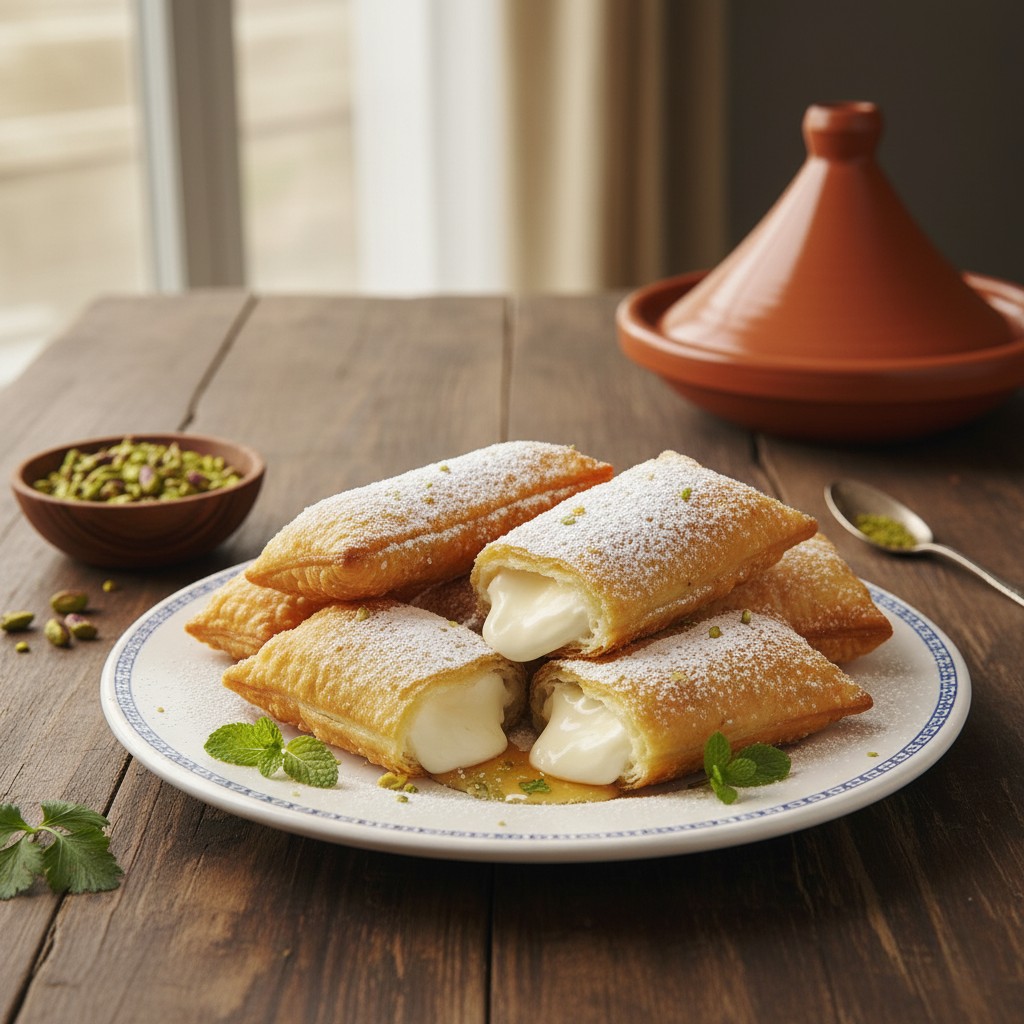
Tunisian Brick Hlib (Lait): A Sweet & Creamy Delight
Cooking
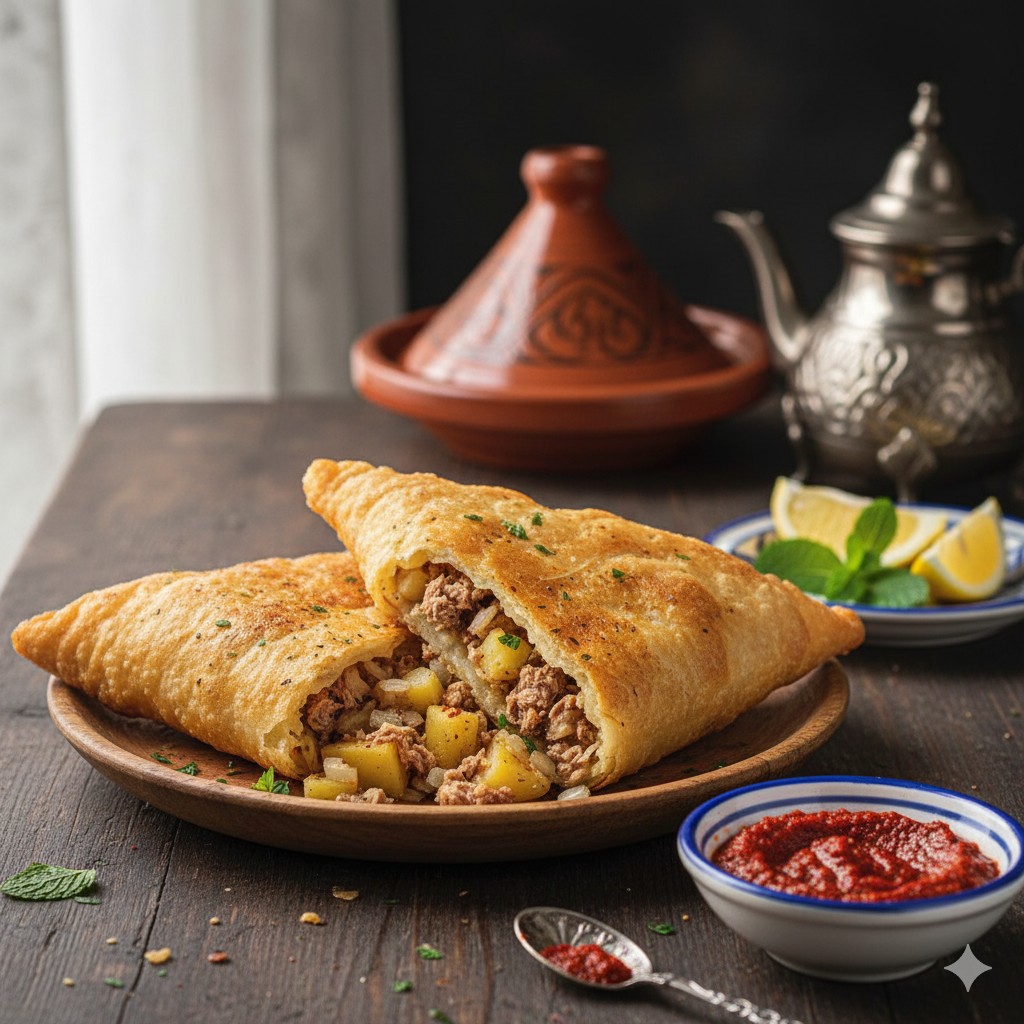
Tunisian Brick: A Step-by-Step Recipe
Cooking
More posts
Republic of Algeria Democratic and Popular
November 9, 2025
A Complete Step by Step Guide to Green Tunisia
November 9, 2025
Egyptian Fatteh
November 5, 2025
Egyptian Baba Ganoush
November 5, 2025
![Egyptian Koshary [also spelled Koshari or Koshery]](https://www.lamaghrebine.com/wp-content/uploads/2025/11/Egyptian-Koshary.jpg)